Updated on August 18, 2018
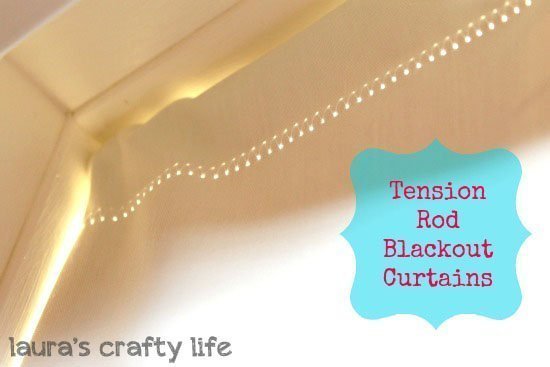
Tension Rod Blackout Curtains. Sew blackout curtains that can be installed with a tension rod behind your blinds or curtains.
Imagine yourself, at the end of a long day, drifting peacefully off to sleep in your freshly made bed. You get eight, glorious hours of uninterrupted sleep and wake up feeling refreshed and ready to start the day! Now, enter my reality . . .
Spend 30 minutes each night after lights out to tend to my two year old’s never-ending needs – “I need to go to the potty”, “I lost my blanket” after she throws it out of her crib, “I need another drink”, “I need my jammies” even though they were on when she went into her crib. Finally, I spend an hour of time with my husband, drag myself to bed, only to be woken up at least 2 to 4 times per night by the above mentioned two-year-old. I wake up groggy, cranky and definitely NOT ready to start my day.
In my quest to get everyone in this house some more shut-eye, I knew I needed some blackout shades for her window. They are at least $10 per panel plus the cost of a new curtain rod. I didn’t want to spend over $20 on curtains when she already had perfectly good curtains and blinds in her room already!
While I was reading Martha Stewart magazine, I came across an article showing how to make a simple curtain and attach it to the window with tension rods. Brilliant! This would definitely work to make these blackout shades. I wanted to be able to remove them easily during the day.
This post contains affiliate links. If you purchase something through the link, I may receive a small commission at no extra charge to you. Please read my full disclosure policy here.
Tension Rod Blackout Curtains
Supplies:
- Blackout Lining Fabric
- Scissors or Rotary Trimmer
- Pins
- Sewing Machine and Matching Thread
- 2 Tension Rods

Measure your window’s length and width inside the frame where the tension rods will go. Add 1 – 2″ to each end’s length (to create a rod pocket).
*I added 1 1/2″ to each end of my length measurement to account for a 7/16″ tension rod. (You may need to add more or less fabric depending on the size of your tension rod.)
 Cut your fabric to size. Since we are using blackout curtain fabric, there is no need to stitch or seal the edges. It is a vinyl type material and the edges don’t really fray. One more reason this project is so simple!
Fold your fabric over with wrong sides together at each end and pin. You will fold it over for whatever measurement you added in step one. So for example, I folded each end over 1 1/2″. You do not need to fold under the raw edge – you will see why in the next step.

Set your machine to a zig zag stitch.

Place your fabric in the machine so the unfinished edge of fabric runs right down the middle of your presser foot. Sew down the length of each edge.

This will attach the fabric together and create your rod pocket. You can see in the picture below how the fabric is attached using the zig zag stitch.

Remove pins and add the tension rods.

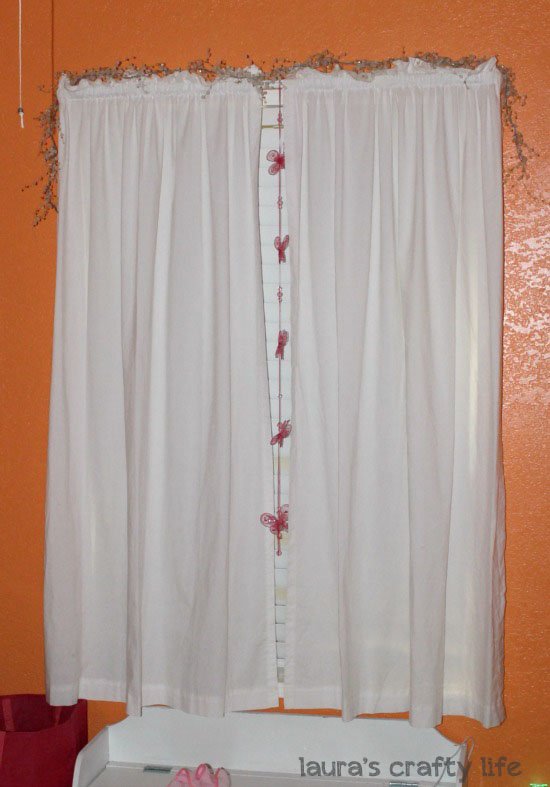
Hang the curtains in your window! I added my shade between the window and the wooden blinds. This makes the room the darkest and you can’t see the blackout curtain with her blinds and curtains closed.

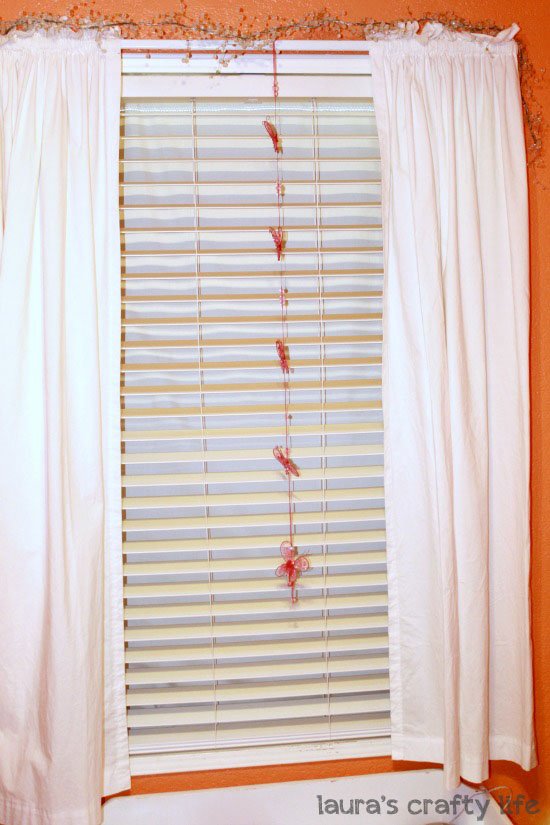
It is so hard to take pictures of a dark room, but here is a comparison of with and without the shade. The only light is coming from the hall. You can see on the right side how much darker her room is.

This little addition has made it much easier for her to fall asleep at night while it is still light out and for her to sleep in a little in the morning.
To make this project less expensive, I used a coupon for the fabric at JoAnn’s. And now you can skip the shipping – buy online and pick up in-store at JOANN!
You may also like:
Interior decor Zone says
Thanks for sharing such amazing information. Really Appreciated.
Interior decor Zone says
Thanks for sharing.
Curtains Perth says
The type of color you buy for your window curtains will make all the dissimilarity in the earth. If you are continuously on the move then your move toward will be dissimilar that a person who just bought a new house.
Kris Pietz says
Do you really need a tension rod at the bottom, too?
Laura Silva says
Kris,
I suppose you wouldn’t need the one at the bottom depending on your particular window. For ours, by placing both the rod at the top and the bottom I am able to get the blackout material to stay more securely against the window to keep out the most light. You could certainly try it with just one and then add the second one if needed.
xo,
Laura
Michelle Smith says
The Rod balckout curtains given here are beautiful. Know all bout it
Curtains
Scattered Thoughts of a Crafty Mom says
Very, very smart!
~Jamie
Kathy@DandelionsandDustBunnies says
I put a blackout shade in my boys’ room so when they go to bed during the summer and it’s still light out, they acutally go to sleep. Helps them to sleep in later too becuase it’s still dark in their room when the sun comes up early. Works great for nap time too – my 3 year old lays right down and goes to sleep. Hoping you get some more sleep too. Sounds like it’s been rough the last couple years – yudos to you for hanging in there!