Updated on May 3, 2024
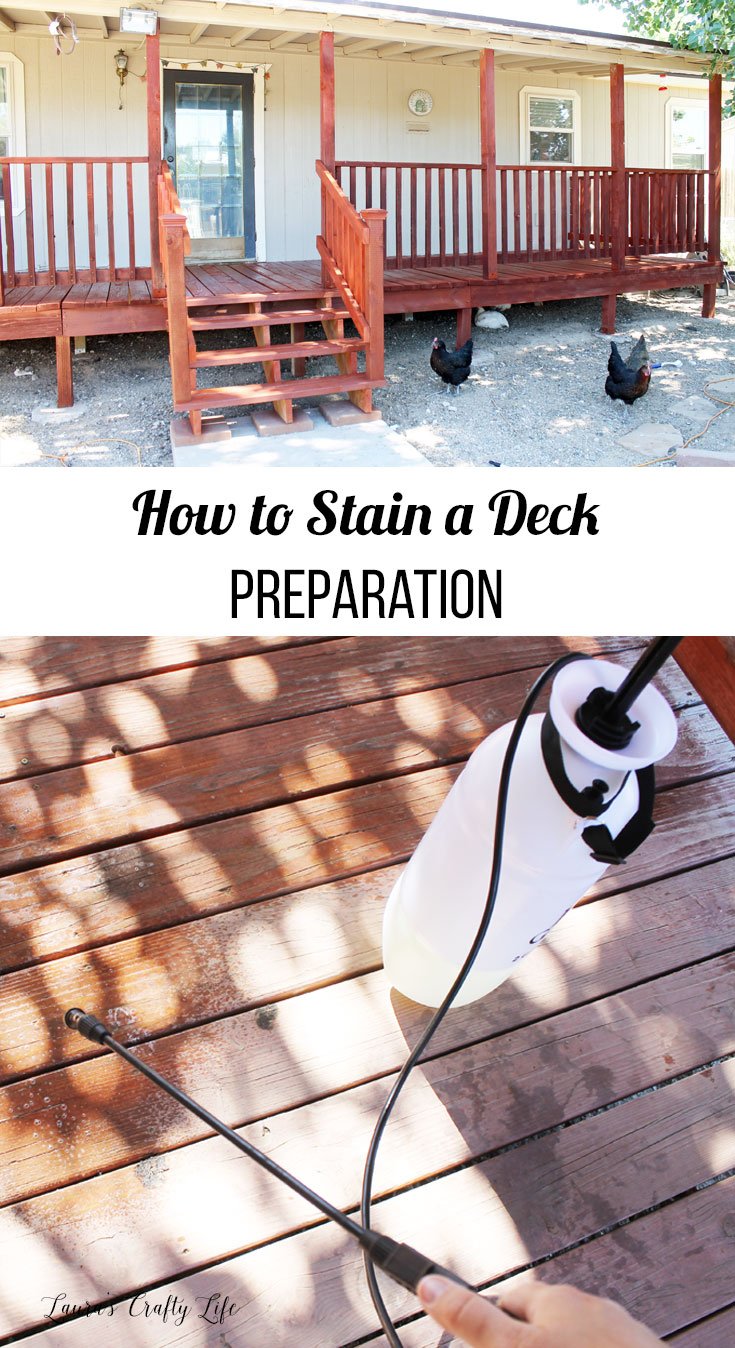
How to Stain a Deck: Preparation. Learn how to prepare your deck for stain or waterproofing sealer. Prep work is key to a lasting finish and a professional-looking job done right.
This post contains affiliate links. If you purchase something through the link, I may receive a small commission at no extra charge. Please read my full disclosure policy.
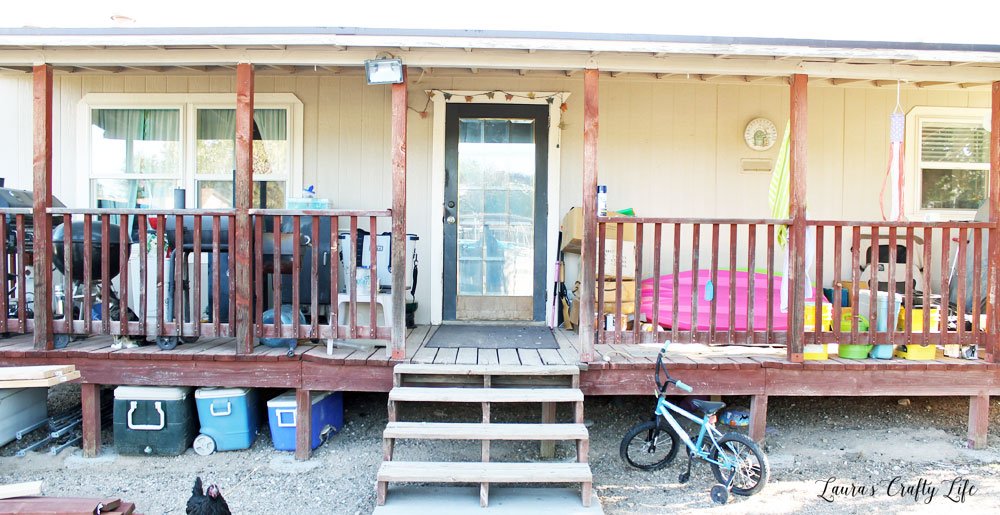
Our back deck desperately needed staining. We had neglected it for other outside projects for too many seasons.
Staining a deck is not difficult, but it does require the proper prep work to get the job done correctly and make the deck look nice. The railings and posts still had some stain, but the boards you walk on were stripped entirely.
Steps to Staining a Deck:
How to Stain a Deck: Preparation
Today, I will share the steps to prepare your deck for stain or waterproofing sealer.
The first thing to remember in any stain or paint job is that prep work is key. It can sometimes take longer than the actual project, but the end results are worth it.
Check for Loose Screws and Rotted Boards
The first thing to do when prepping to stain your deck or patio is to remove everything. Check all the boards for loose screws and nails and secure any that need it.
If your deck is only put together with nails, you may need to add some screws in places where it lifts often. We had to do this on our front porch after several seasons of use.
Check all the wood for rotting and structural integrity. In our case, our steps leading down from the back deck were in terrible shape. We had to replace the entire thing, including the risers.
A few boards leading to the steps also needed to be replaced. When it rains, the porch roof drops a lot of water, leading these boards to wear out even faster. We hope to install a gutter along the edge of the porch roof to help with this issue.

We opted for pressure-treated wood for the tops of the steps and the posts for the new railing we were building. The pressure-treated lumber costs more but will withstand the elements much longer.
One of the things that always seems to happen to us is that when we start a project and have a plan in place, we always find something else that needs work.
In this case, once we pulled the stairs off the porch, we found that the horizontal support beam to which the stair risers were attached was completely rotted out. So, we had to replace that as well.
Adding a little extra to your project budget for surprises like this is always a good idea.

Clean the Surface
Depending on the condition of your deck and what you plan to use to stain it, you may need to use a stain stripper. There are many options available to choose from for deck strippers. This will remove any old stains that were previously on the deck.
Since we planned to stain our deck the same color as before, all ours needed was a good scrubbing. I started by sweeping off what I could with a broom.
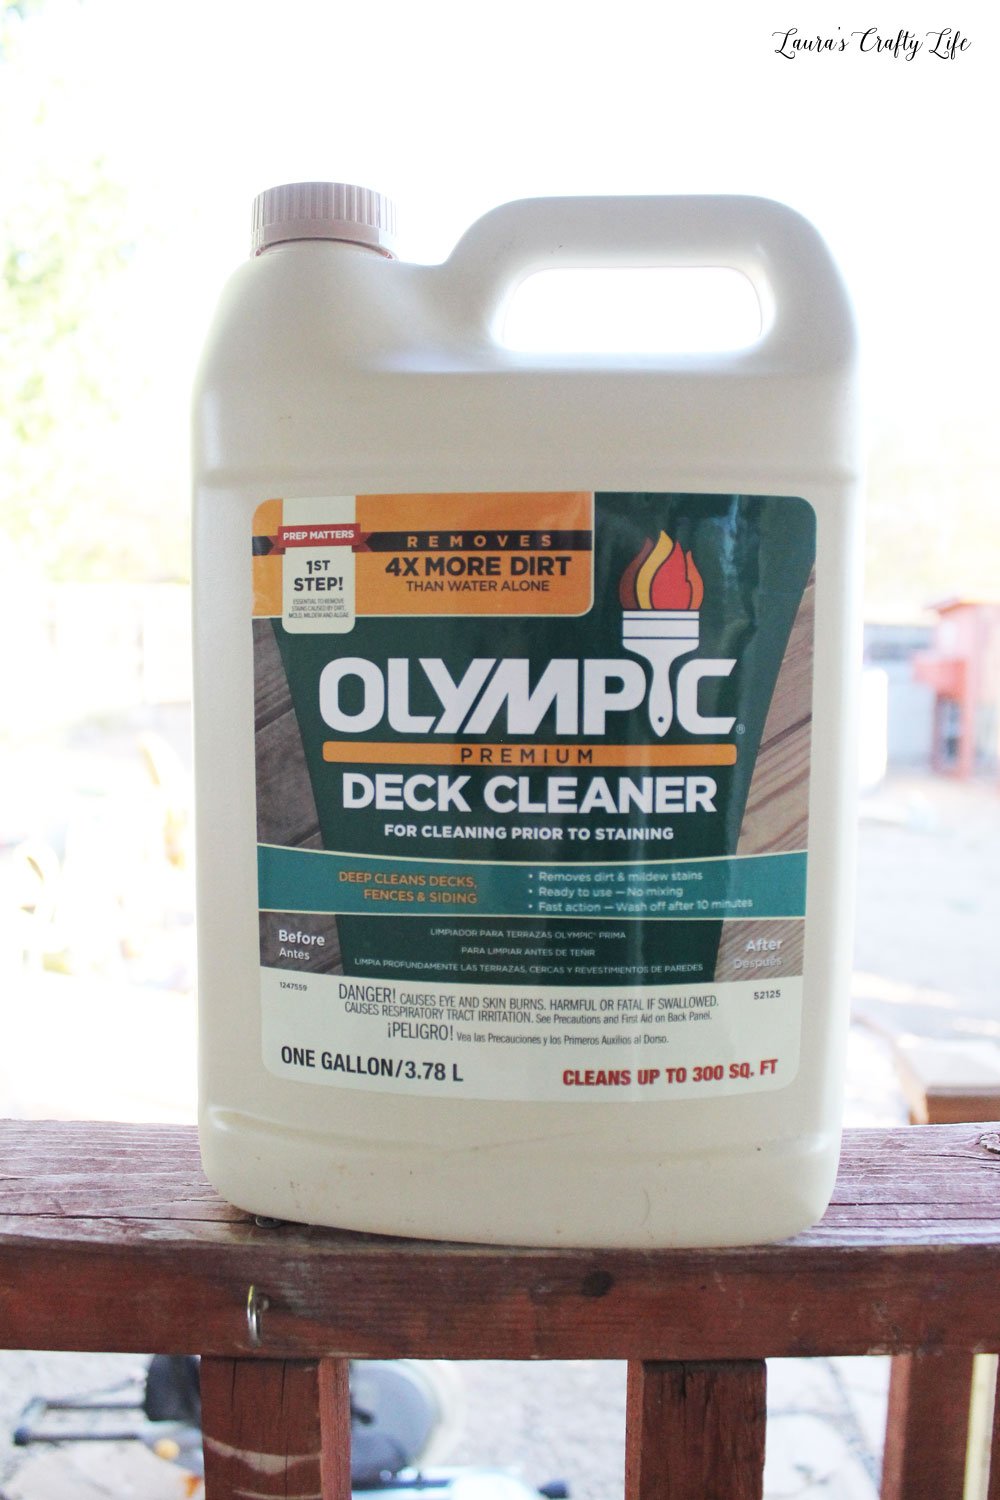
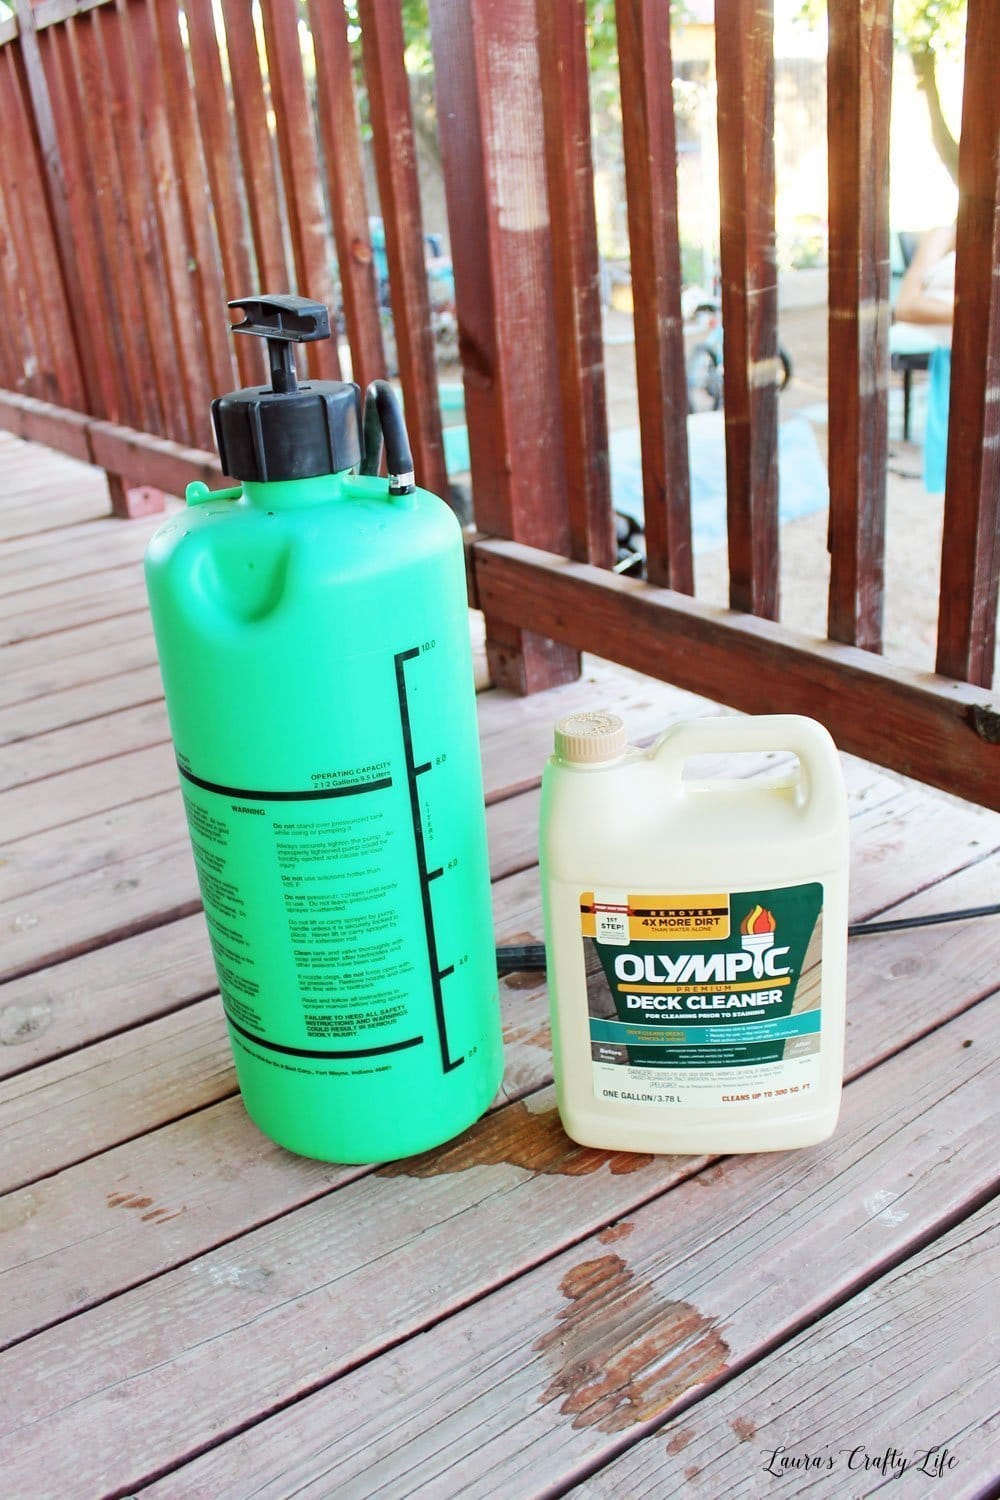
I read many reviews and settled on Olympic Premium Deck Cleaner to wash off the deck. It cleans four times more dirt than water alone and requires no scrubbing.
Also, when used properly it will not harm most plants or pets. This was important for me for many reasons, including our chickens and ducks often hanging out under the porch. I didn’t want toxic chemicals running off the deck down below.
You add the cleaner undiluted to a garden sprayer and saturate all the surfaces for 5 – 10 minutes. Start with the railings and then work your way down.
RELATED: More DIY Projects

Then, you spray it off with your garden hose. Really tough stains may require a little bit of scrubbing. You could also use a pressure washer for the final rinse.

Below, you can see both sides of the deck before cleaning.

After using the cleaner, the deck was not perfect, but it significantly improved. The deck floor even looked like some old stain was still there. The deck floor is over 12 years old and looks pretty good overall.

I have no idea what spilled on our deck to leave this big stain in the top picture below, but I wanted to see how well the cleaner would work on it without any scrubbing.
It does look better, but getting this spot up would probably require a stripper or a lot of scrubbing. Since our stain color is pretty dark, I spent no more time scrubbing this spot.

Note: Read and follow the instructions on your particular deck stripper or cleaner. Each one will vary a bit on how to apply it, how long to leave it on, and how to wash it off when you are done.
Depending on the stain you choose, you may be able to use it on damp wood. Other stains require that you use them on completely dry wood.
Be sure to check the label on your stain before beginning to stain. Tomorrow, I will share a tool that makes painting all the railings much easier and faster.
You may also like:
Leave a Reply