Updated on October 10, 2022
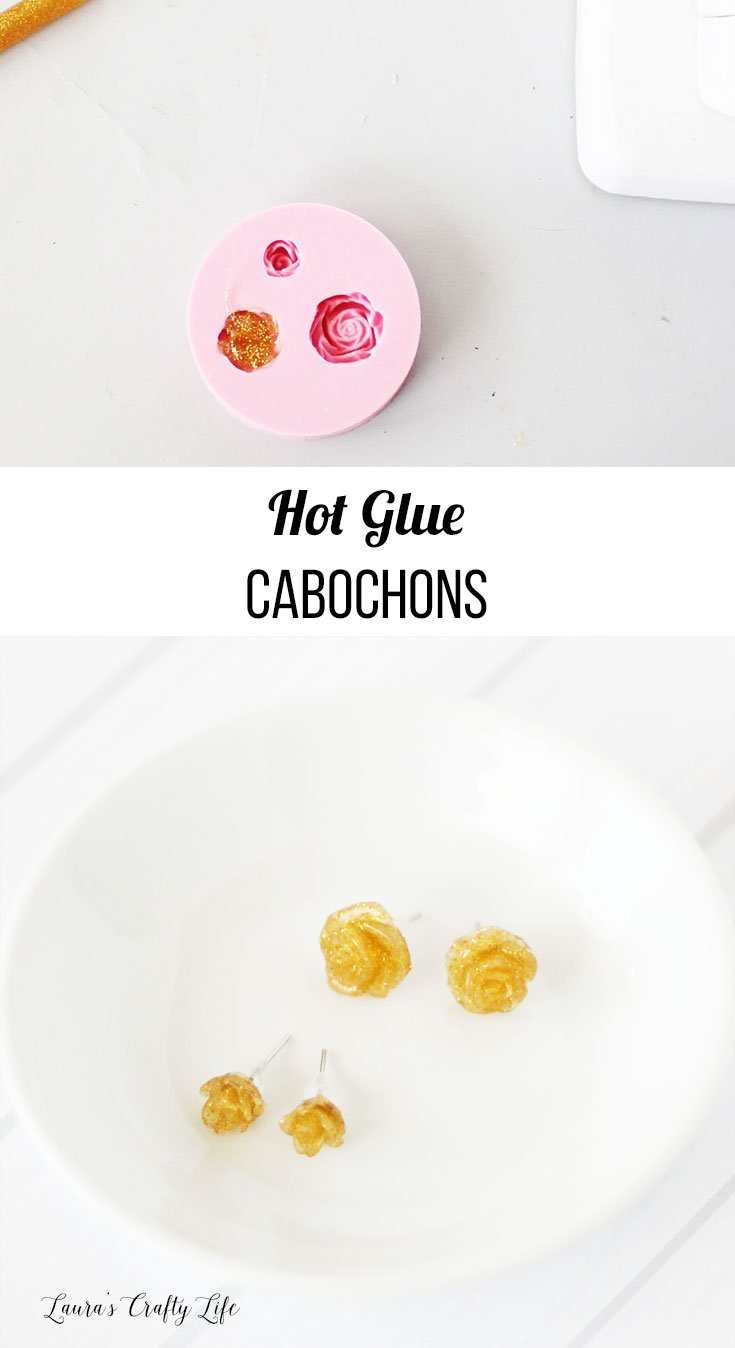
Hot Glue Cabochons. Learn how to make cabochons using hot glue and a silicone mold. You can use them for earrings, planner clips, hair accessories, and more!
This post contains affiliate links. If you purchase something through the link, I may receive a small commission at no extra charge to you. Please read my full disclosure policy here. Thank you to Angie and Carolina for providing me with a copy of Hot Glue Gun Hacks and Crafts for review.
Today I am sharing a fun hot glue craft with all of you in honor of my friend’s new book – Hot Glue Hacks and Crafts. Angie and Carolina wrote a book all about hot glue.
It is such a versatile tool and crafting item. I have been using a glue gun since I was a kid making craft projects and there were still some tips in the book I didn’t know!

How to Make Hot Glue Cabochons
Supplies:
- Glue Gun
- Glitter Glue Sticks
- Heat Resistant Mat
- Silicone Mold
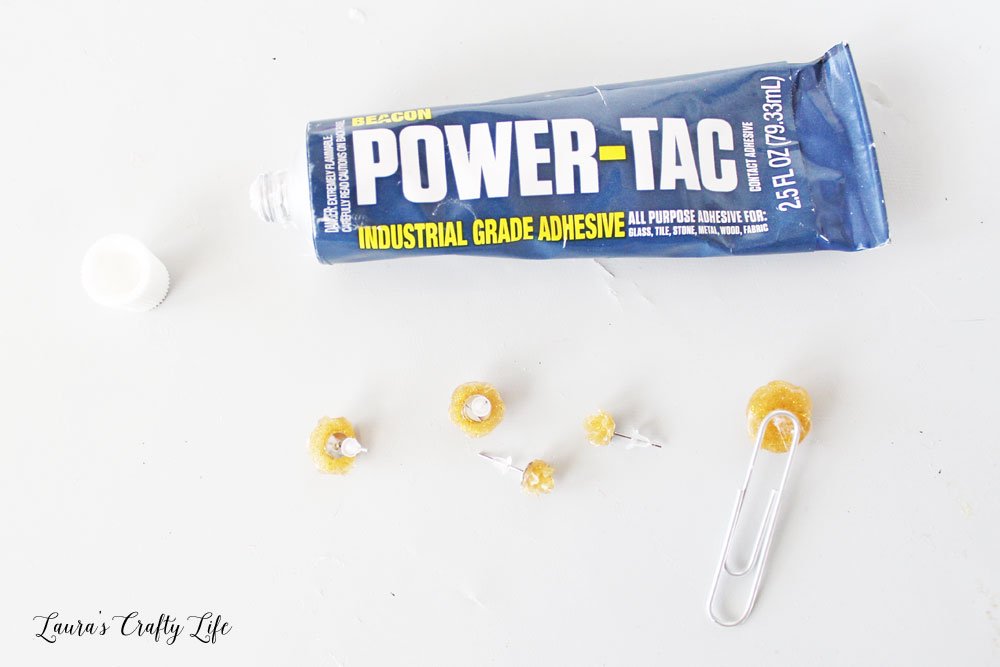
- Beacon Power Tac
- Earring Posts, Paper Clips, or Hair Clip
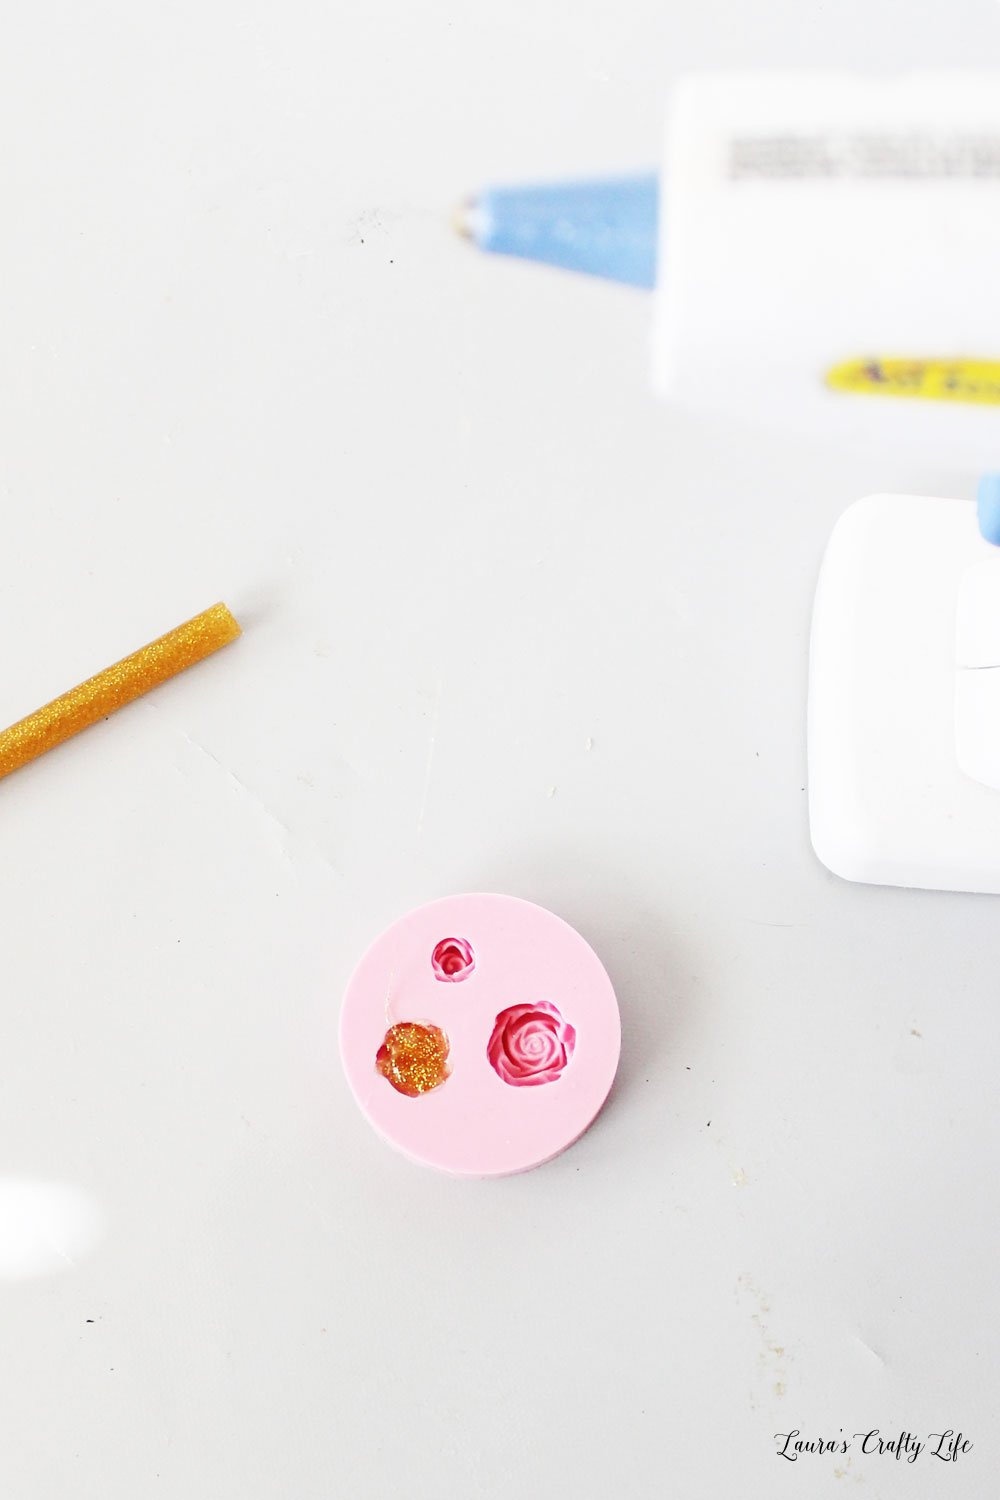
You want to protect your work surface when using a hot glue gun. You will also need a silicone mold of your choice. I used a rose one, but many options are available.

My favorite store to buy silicone molds from is Mold Muse on Etsy. They have a wonderful selection and the molds are very high quality.
Load a glitter glue stick into your glue gun. You may have to squeeze out any remaining clear glue from the previous glue stick.
Once glitter glue starts to come out, you are ready to start.
I purchased my glitter glue sticks from Dollar Tree. They don’t always have them, but I have good luck finding them around the holidays.
Fill the silicone mold with glitter glue. Allow it to set up for about a minute.
Once the back is no longer super sticky, turn the mold over on your silicone mat, and press down firmly. This makes sure that glue is in all the nooks and crannies and also smooths out the back of the cabochon.

I found I had to wait different times based on the size of the rose to get a really good impression. 1 minute for the small, 1 minute 30 seconds for the medium size, and 2 minutes for the largest size.
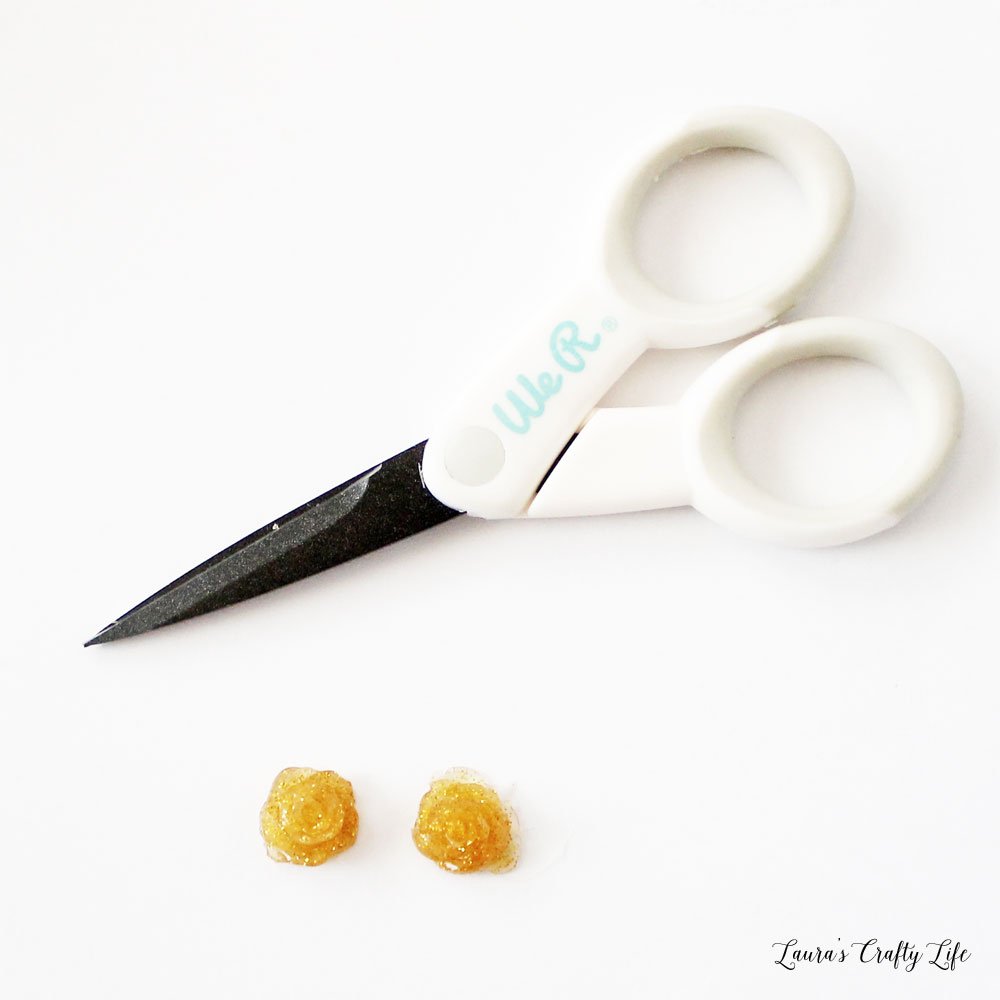
Helpful Tip: Don’t worry about excess glue coming out of the mold. You can trim it after it is cooled.
Allow the hot glue to cool and then pop the flower out of the mold. Since the mold is made of silicone, you have to simply bend it a little and the flower pops right out.

If you need to, you can trim off any excess hot glue around the edges with a sharp pair of scissors or an X-ACTO knife.
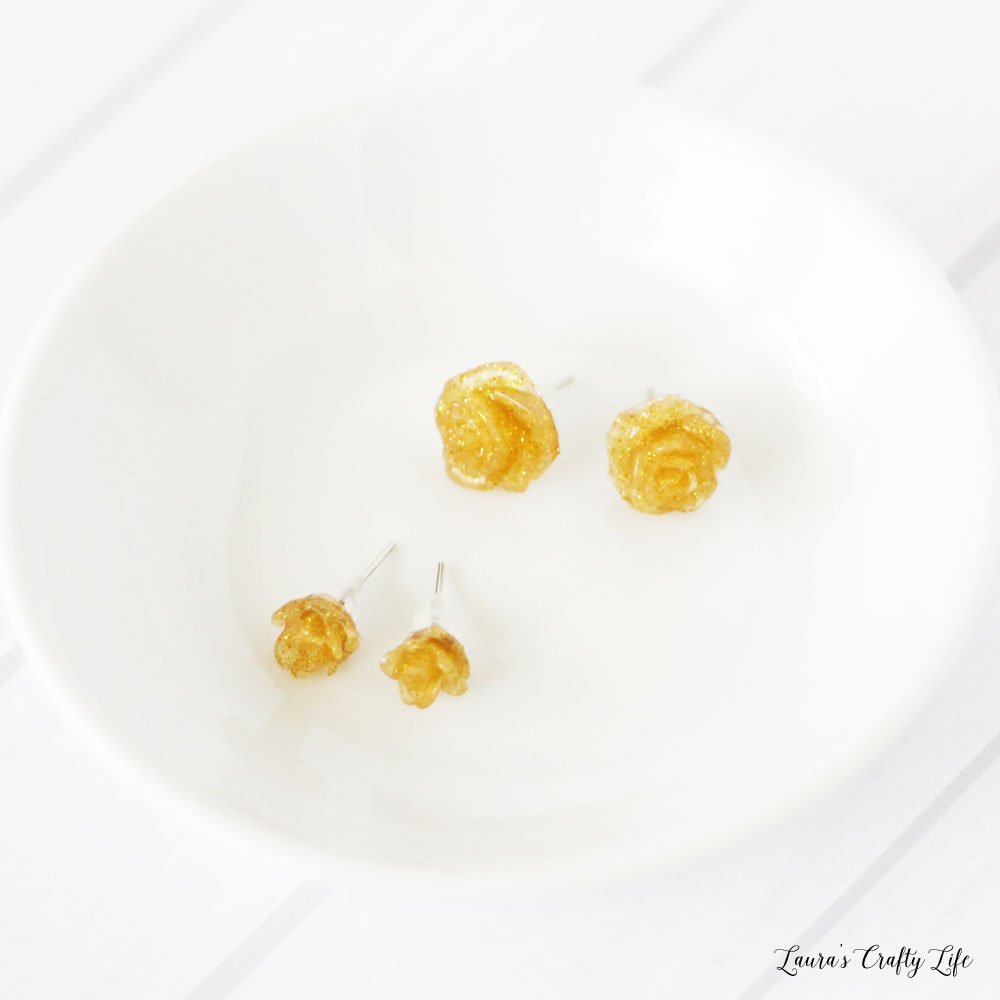
Hot Glue Rose Earrings
Once the hot glue has cooled completely you can add your flowers to anything you like!
I made a pair of small and larger size rose earrings. Use a strong adhesive and attach earring posts to the back of your flowers.

Hot Glue Rose Planner Clip
I love to use cabochons on top of paper clips to create pretty clips for my planner. Again, use a strong adhesive and glue to the paper clip.

You could easily create clear flowers with regular hot glue and then paint your flowers any color using gloss acrylic paint. You can add these cabochons to pretty much anything you can dream up!
Craft Lightning – Hot Glue Gun Edition
This hot glue craft was part of Craft Lightning Hot Glue Edition. Craft Lightning is a series hosted by The Country Chic Cottage and 30 Minute Crafts. Guest hosts this time are Creative Green Living, 100 Directions, and Mine for the Making. Some of your favorite crafters come together to create crafts around a specific theme that takes less than 15 minutes to make! Be sure to check the hosts’ blogs all week for more easy and quick hot glue gun crafts.

And make sure you pick up a copy of the new book, Hot Glue Gun Hacks and Crafts.

You may also like:
Angie Holden says
These are adorable! Thanks for joining!
Laura Silva says
Angie,
Thanks so much, and thank you for hosting! Love your new book.
xo,
Laura