Updated on March 2, 2023
How to Tie Dye Tote Bags. Learn how to tie-dye a tote bag that you can use for yourself or give as a gift.
Isn’t it fun that tie-dye has come back into style? (Although I am not entirely sure it ever left.)
Today, I am going to show you how easy it is to tie-dye a tote bag. You can use the tote bag as is, add iron-on to customize it, or even give it as a gift.

This post contains affiliate links. If you purchase something through the link, I may receive a small commission at no extra charge. Please read my full disclosure policy.
How to Tie Dye a Tote Bag
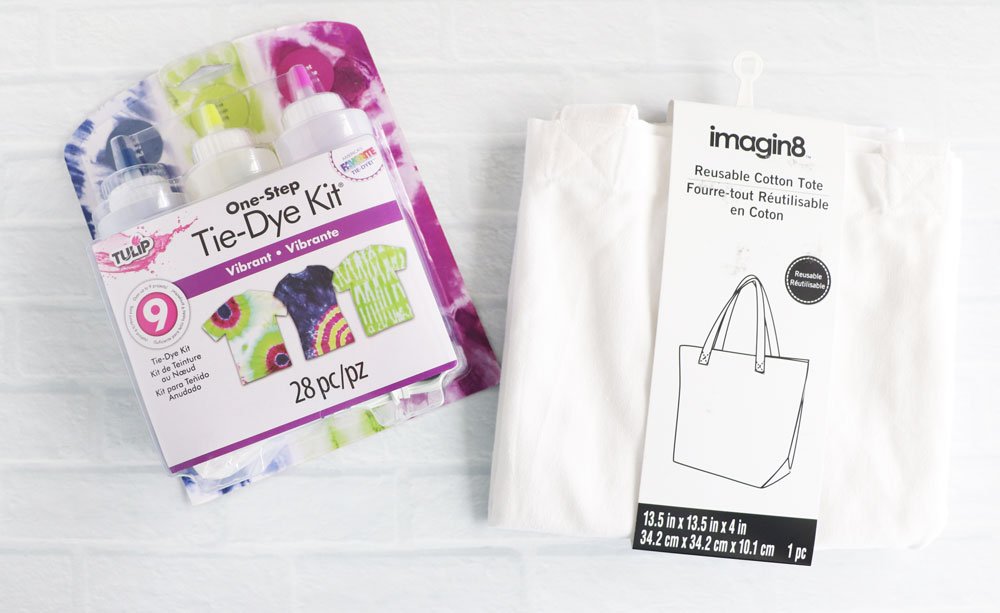
Learning how to tie-dye couldn’t be easier with the ready to mix tie-dye kits that are available. You can pick them up at most craft stores. My favorite is the One-Step Tie-Dye kits from Tulip.
Purchase Tie-Dye Kits: Michaels | Amazon | Walmart
The kits come with bottles that are pre-filled with powder. All you need to do is add water, and shake, and you are ready to go!
Steps to Tie-Dye a Tote Bag
- Pre-wash fabric.
- Prepare the surface by covering it in plastic.
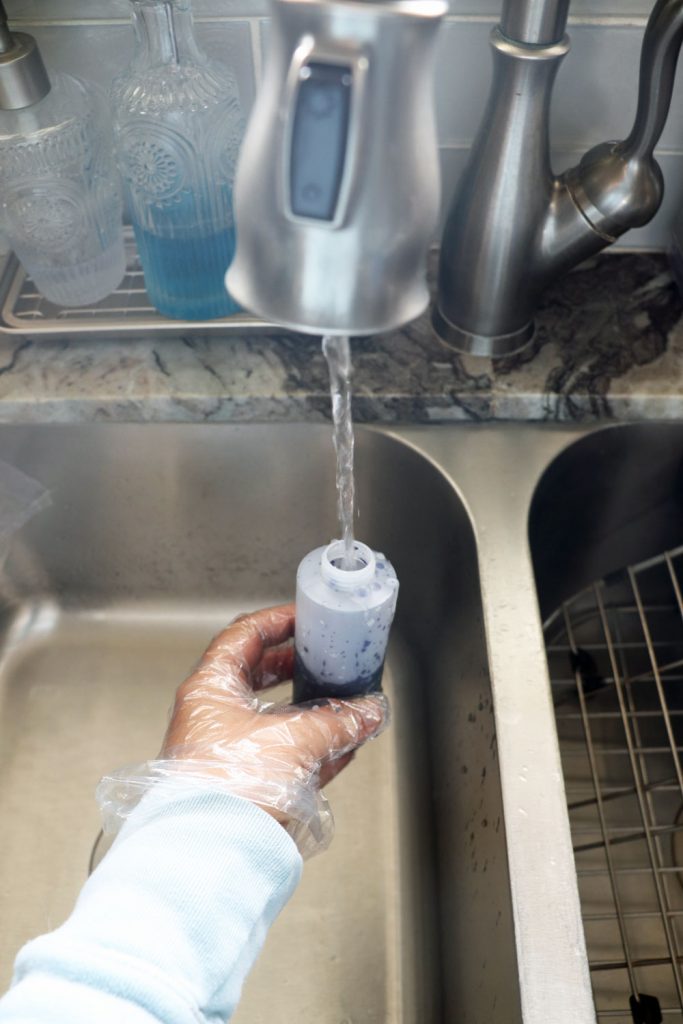
- Add cold water to the tie-dye bottles and shake until the powder is dissolved.
- Create a design on your fabric by adding rubber bands in different patterns.
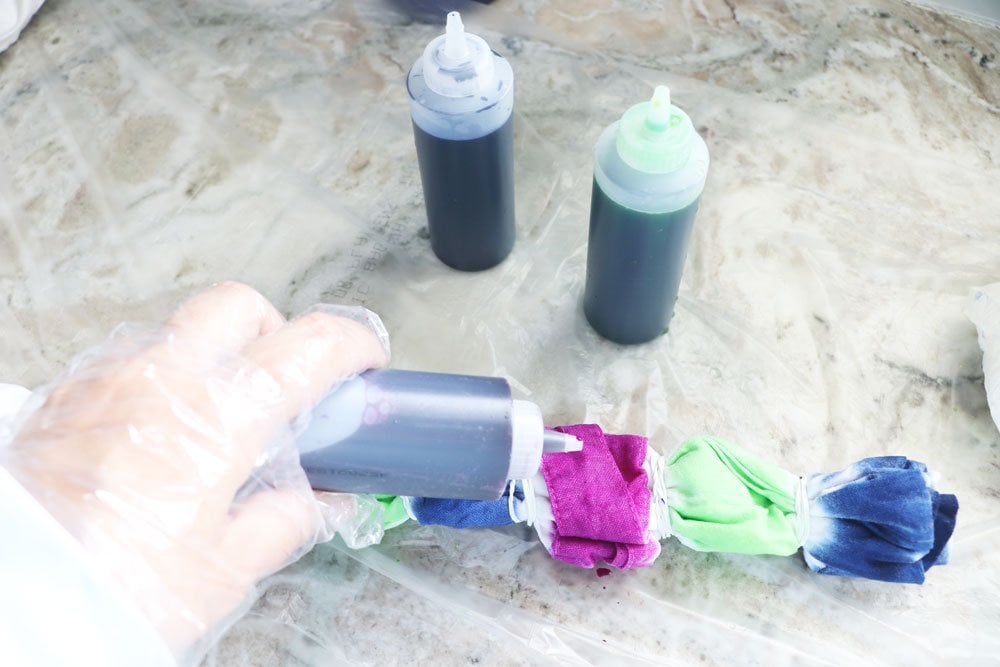
- Squeeze tie-dye onto the fabric.
- Wrap the fabric in plastic and allow it to sit for 6-8 hours.
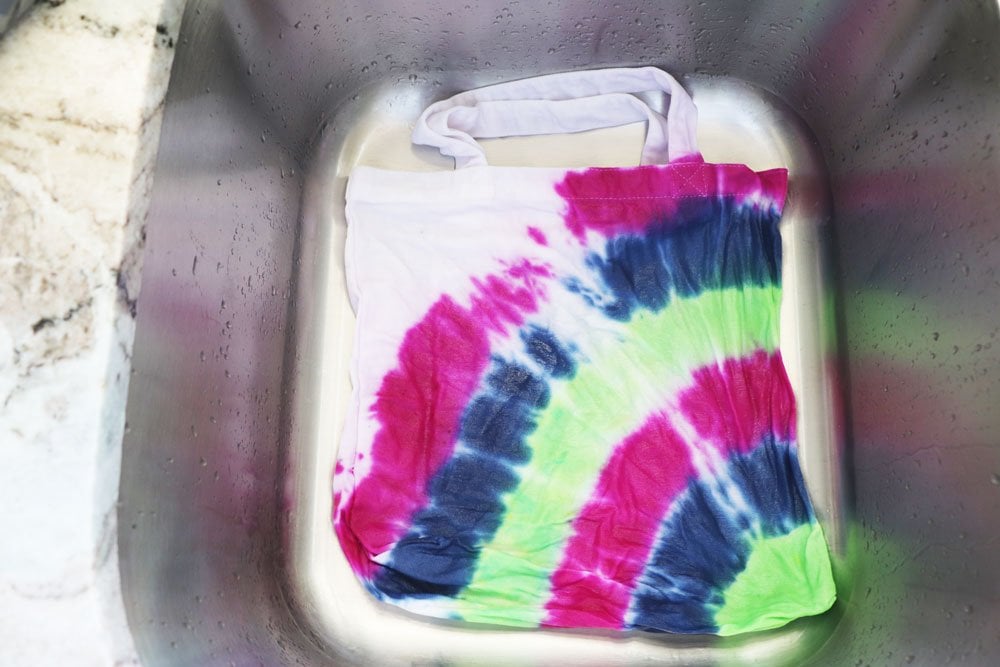
- Rinse fabric under cold water and then wash in the washing machine on cold.

Supplies:
Start by preparing your tote bag. You can tie-dye wet or dry fabric for different effects. However, no matter which method you choose, you will want to wash your tote bag first. This will remove any chemicals that are on the fabric to make sure it can take the dye.
If you are tie-dying with the wet method, you will be ready to go straight out of the washer. If you are tie-dying with a dry tote bag, you can either air-dry your tote or dry it in the dryer.
Prepare your work surface by covering it in plastic. You can use an inexpensive vinyl tablecloth or even a large trash bag. I usually use a trash bag since I always have those on hand.
Put on gloves and add water to each bottle of tie-dye you are going to be using. Secure the lid and shake vigorously until all the powder is dissolved.

There are a ton of patterns to choose from to create a design for your tote bag.
The basic instructions for tie-dying are the same, however, you can completely change the look by the way you place the rubber bands on your fabric. See the specifics of how I did two different techniques below.
Bullseye Tie-Dye Technique
To create a bullseye pattern, start by pinching your fabric at the center of where your bullseye will be.

I wanted to do a non-traditional pattern, so I started with my first rubberband at the corner. In the traditional bullseye method, you start by pinching the fabric in the center of your fabric.
About 1 – 2 inches below the first rubber band, wrap another rubber band around the fabric.

Continue adding rubber bands until you have created the design you want.

Working on your protected surface and with gloves on, add fabric dye to each section of your tote bag.

You can alternate two colors, create a pattern with even more colors, randomly apply colors, or even skip a section to leave it white. The sky is the limit!

Wrap the wet tote bag in plastic. I like to recycle a grocery store bag I can just throw away when I am done. Allow the fabric to sit for 6-8 hours (or even overnight).

Rinse the fabric under cold running water. Then, remove the rubber bands. It is often easiest to simply cut the rubber bands off.

Wash your tote bag in the washing machine with a small amount of detergent, on the largest load size with cold water. Dry according to tote fabric instructions.

You may want to wash your tote bag separately for the first few washes.
Stripes Tie-Dye Technique
Depending on the look you are going for you can create either vertical or horizontal stripes. For my tote bag, I wanted to create vertical stripes.
To create a striped pattern, accordion fold your damp fabric horizontally from top to bottom.

Note: I removed the rubber band and ended up folding the straps over first, and then accordion folded the tote bag with the straps inside.
Use rubber bands to secure the pleated fabric. You can do as many or as few rubber bands as you would like to section off the fabric.

The closer the rubber bands are – the thinner the stripes. For wide stripes, use fewer rubberbands.
Working on your protected surface and with gloves on, add fabric dye to each section of your tote bag.

Wrap the wet tote bag in plastic. I like to recycle a grocery store bag I can just throw away when I am done. Allow the fabric to sit for 6-8 hours (or even overnight).
Rinse the fabric under cold running water. Then, remove the rubber bands. It is often easiest to simply cut the rubber bands off.

Wash your tote bag in the washing machine with a small amount of detergent, on the largest load size with cold water. Dry according to tote fabric instructions.
You may want to wash your tote bag separately for the first few washes.
Enjoy your fun new tote bags!

Tie-Dye Frequently Asked Questions:
- How long does the tie-dye last once it is mixed? It will last up to 72 hours, so it is best to have your projects ready to go before you mix your dyes.
- Should I mix my One-Step Tie-Dye with cold or hot water? No need for hot water! Cold water works great for the ready to go squeeze bottles. But always follow the manufacturer’s directions on your tie-dye kit.
- What fabrics work the best for tie-dying? 100% cotton, rayon, or silk natural fabrics works best. Synthetic fabrics often don’t take the dye as well, if at all. If you are concerned about your fabric, test it on a similar fabric or swatch first.
- What can I use to bind my fabric? The kits come with rubber bands, but you can also use zip ties and string to create different effects.
- How many projects can I dye with one kit? My kit came with three colors and says it can dye up to 9 projects. I was able to tie dye two tote bags, a t-shirt, a tank top, and a pair of socks and only used about half of the dye in each bottle. It will depend on the size of the items you are tie-dying and how much dye you apply to each item.
Let me know if you have any other questions about tie-dying in the comments!
Creative Crafts – Tie-Dye Edition
This craft is part of Creative Crafts Tie-Dye Edition. Creative Crafts is a series hosted by Me and My INKlings, Creatively Beth, Bella Crafts Publishing, and Artsy Fartsy Mama. Some of your favorite crafters come together to create crafts around a specific theme! Check the posts below for more tie-dye ideas.
- Me and My INKlings – Rainbow Tie Dye Tote Bag
- Smiling Colors – How to Throw a Tie Dye Party
- Sunshine and Munchkins – Rainbow Tie Dye Banner
- Little Dove – Reusable Tie Dye Fabric Wrapping Paper
- 5 Little Monsters – Shibori Inspired Tie Dye Swaddle Blankets
- Poofy Cheeks – Tie Dye Sublimation Tumbler for Mom
- Creatively Beth – How to Tie Dye Paper with Markers to make a Unicorn Wand
- Artsy Fartsy Mama – Ice Tie Dye Hoodie
- Liz on Call – Tie Dye Stickers
- Crafting Cheerfully – Tie Dye Chalkboard Signs
- Ginger Snap Crafts – Tie Dye Sneakers for Summer fun
- Polka Dotted Blue Jay – Tie Dye Gift Bag
- Homemade Heather – Tie Dye Fruity Pebble Bars

You may also like:

Catherine says
Love this! Thanks for your blog! I am going to buy the same bags…my 8 yo son Is doing a project for an entrepreneur course he is taking. Question: did you find the bags shrank a good deal after machine washing or became very wrinkled?
Laura Silva says
Catherine,
I didn’t notice much shrinkage on mine. You can always pre-wash your bags and use cold water, if you are worried about your bags shrinking. They can become wrinkled when you wash them by themselves after tie-dying. I recommend adding a towel to the dryer when you dry them. Or if you hang them to dry, you may need to iron them to get some wrinkles out.
Laura