Updated on September 15, 2023
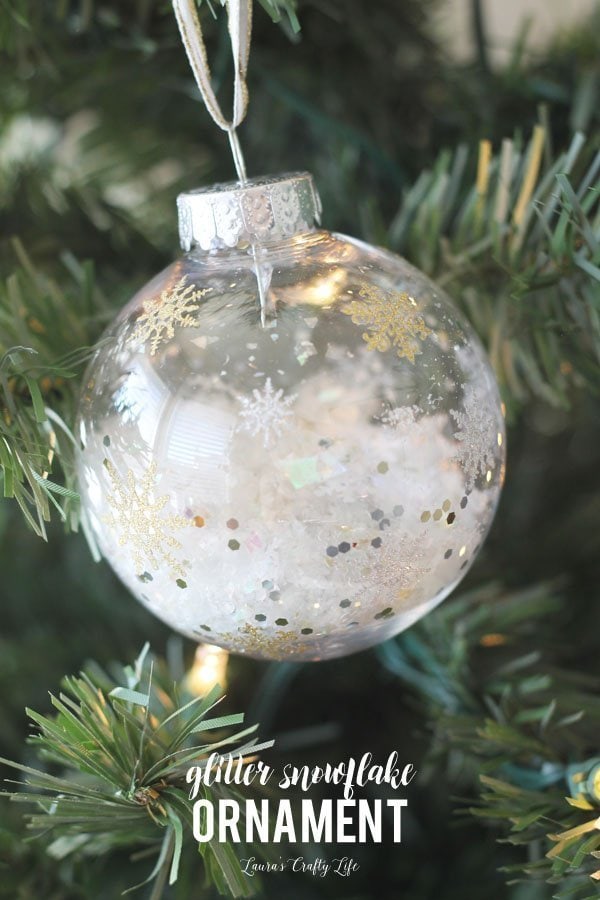
Have you seen the glitter vinyl from Cricut? It is so beautiful. I purchased a variety pack and it got me so excited to do some holiday crafting. Glitter and sparkles are perfect for Christmas. I always love to make my own handmade ornaments. I decided to create a glitter snowflake ornament using my Cricut Explore.
This post contains affiliate links. This does not cost you anything extra, but a portion of your purchase will go to support this site and help keep the content free. Please read my full disclosure policy here.
Supplies needed:
- Ball ornament
- Glitter vinyl
- Cricut Machine
- Ribbon
- Snow and glitter (optional)
I started by creating a set of snowflakes in Cricut Design Space.

Design Space File: Snowflake Ornament
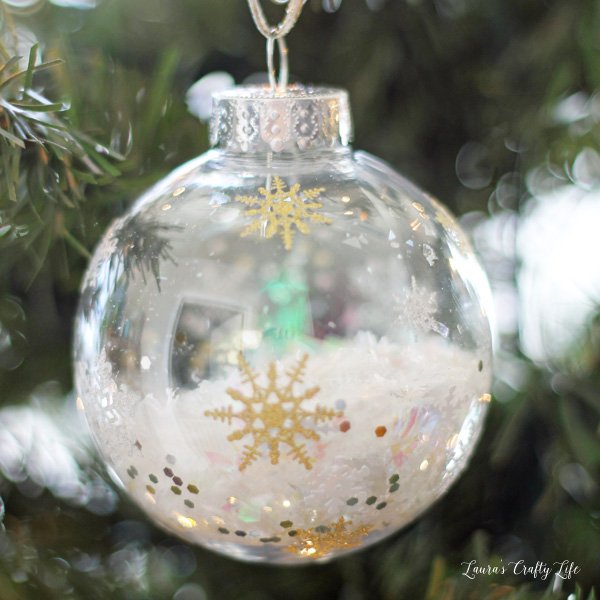
I used both the silver and the gold glitter vinyl. I ended up needing to cut out two sets of the ornaments to get good coverage on my ornament. Be sure to set your Smart Cut Dial to custom and then choose Glitter Vinyl from the drop down menu.

Weed all the excess vinyl from the backing.

You can use transfer tape to transfer your snowflakes to the ornament. I found it just as easy to carefully peel the snowflakes off the backing and apply them to the ornament.


I filled the ornament with sparkly Buffalo Snowflakes, some chunky glitter, and white snowflake cut outs. This is optional, but I like the way the ornament looks filled.


I used some thin gold edged ribbon to tie on the top of the ornament. I simply tied a knot at one end.

This will be a great addition to our tree this year. These would be really quick and easy to make for Christmas gifts as well.

I created this ornament as part of the Ornament Blog Hop with a very talented group of bloggers. We each made an ornament using our electronic cutting machines like the Cricut or Silhouette. #ornamenthop

Check out all the links below for more great ornament inspiration:
You may also like:
Leave a Reply