Updated on January 4, 2023
Mother’s Day Card and Gift Tag. Use a beautiful Mother’s Day SVG from Carina Gardner to make this Mother’s Day card and matching gift tag.
Mother’s Day is this weekend. I think the gift wrapping can be as important as the gift itself, especially when it is handmade. I don’t always go all out on packaging up my gifts, but I love to make handmade cards. Adding a handmade tag to a simple gift bag can really make it seem so much more special.

Thank you to Carina Gardner for sharing this Mother’s Day die-cut set with me. This post contains affiliate links. Please read my full disclosure policy here.
Supplies needed:
- Mother’s Day die cut set
- Cardstock
- Adhesive
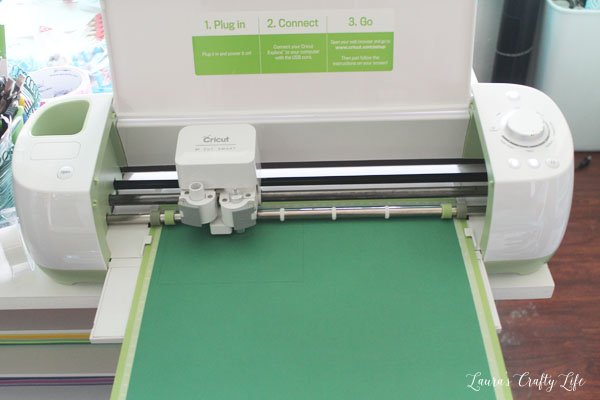
- Cricut Explore
- Small stick-on rhinestones (optional)
Purchase and download your Mother’s Day set from CarinaGardner.com. Once you have the files downloaded, you can then upload them into Cricut Design Space™.
Mother’s Day Gift Card Tag
Step one: Click File -> New -> Upload Images
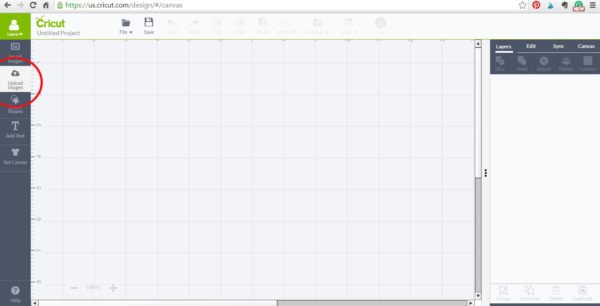
Step two: Click Upload Image
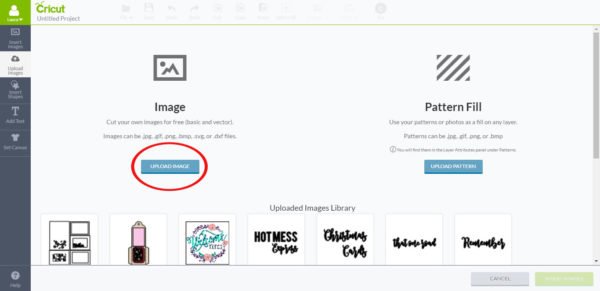
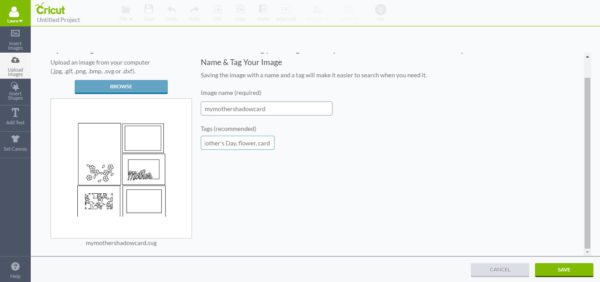
Step three: Click Browse. Find where the file is located on your computer. It will end with .svg. Click on the file. Then click Open. Now you can change the Image name and add tags to help you find the file later on. Then click the green Save button.
Step four: Click on the uploaded image (there will be a green check in the right corner after it is selected. Click Insert Images.

Note: If you want to resize the image, now is the time to do it BEFORE you ungroup in Step 5, since all the individual elements of the design are grouped together.
Step 5: To work with the .svg file and all the individual elements, ungroup the images.
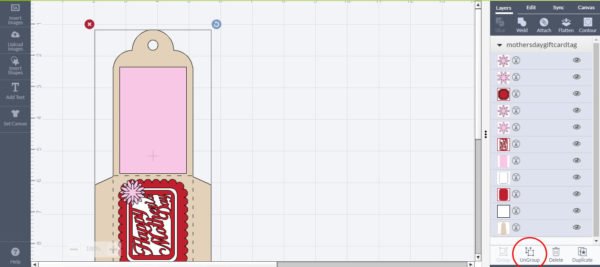
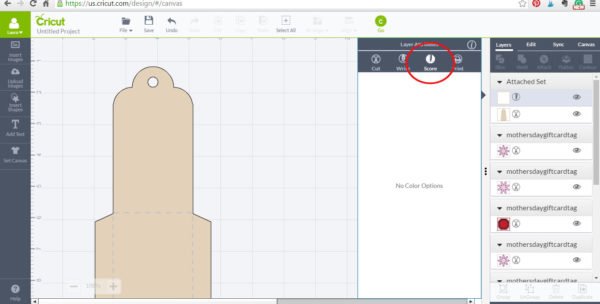
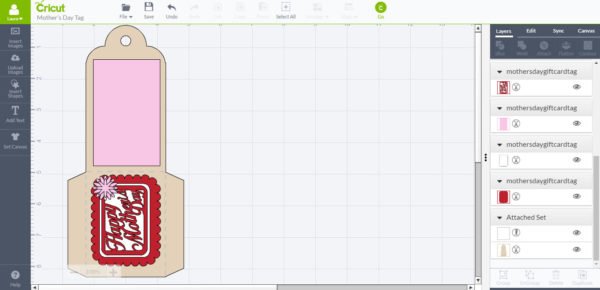
Step 6: Once they are ungrouped, you can change the color of any of the individual pieces of the file. In this particular file, there are dotted lines for scoring. Select the dotted lines and the tag and attach them together.
Step 7: Choose the dotted lines and change them from Cut to Score.
Step 8: Now, your design is ready to cut out on your Cricut Explore. Simply click Go and follow the prompts for each cutting mat.
Tag assembly
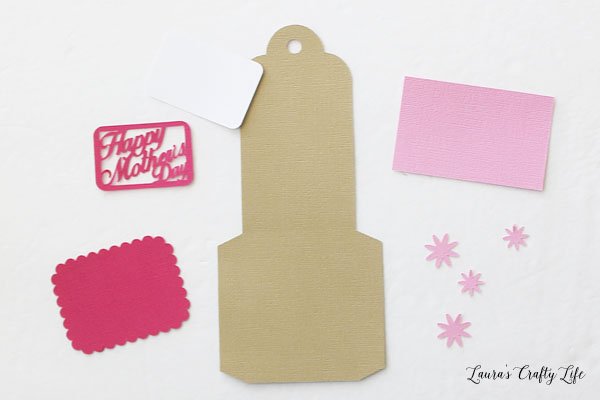
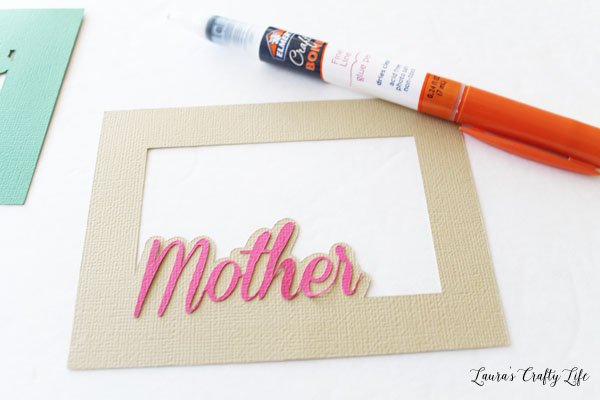
Glue the Mother’s Day word art to the white cardstock.
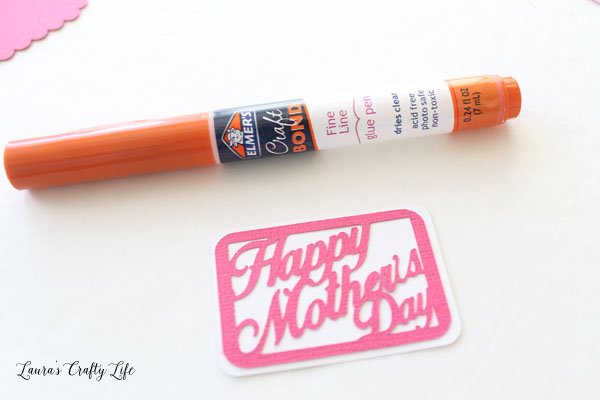
Note: I love this Elmers Craft Bond glue. It has a very fine tip so it is perfect for gluing detailed designs.
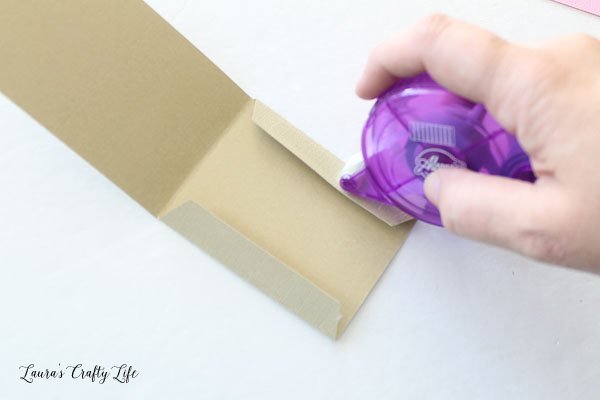
Then glue that whole piece to the scalloped pink paper. Fold the edges of the tag, and then use an adhesive tape runner to glue the sides of the tag closed.
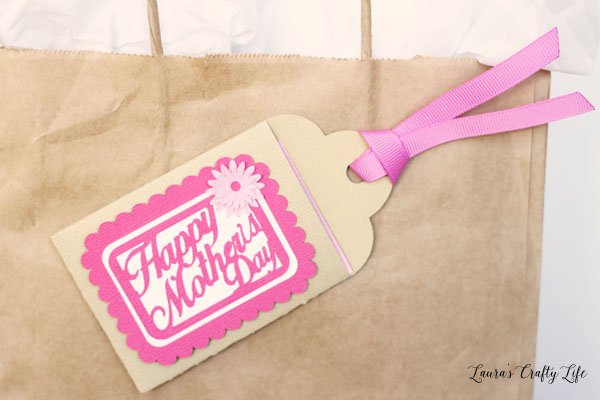
Glue on the flower shapes, starting with the two larger ones and then adding the two smaller ones. Add the small dark pink dot to the center. Add a ribbon to the top of the tag and then attach to your bag.
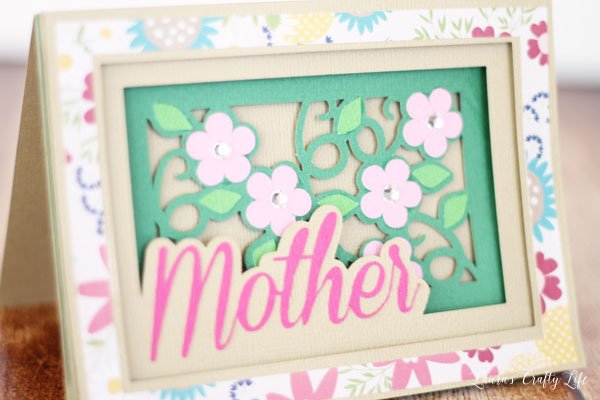
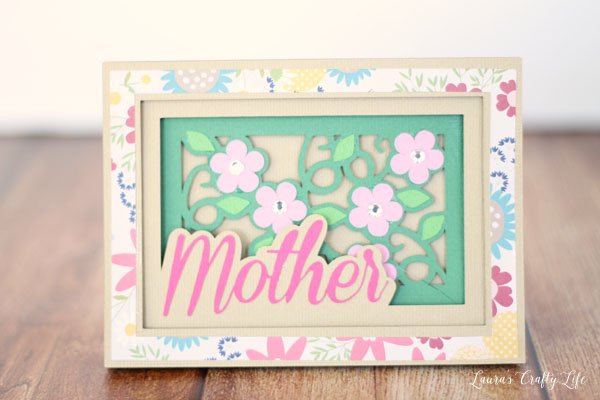
Mother’s Day Shadow Card
Follow steps one through five from the Mother’s Day Gift Card Tag to upload the file into Cricut Design Space™.
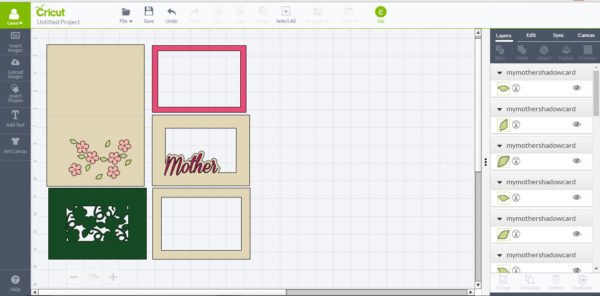
Step 6: Now that the images are ungrouped, select individual elements and determine what color you want them to be. This is a helpful way to envision your finished project. Also, any elements that are the same color will cut on the same cutting mat.

Step 7: All the elements of this file are now colored in except for the small flowers and leaves. I want the flowers to be all the same color. So, select each one, select Attach and then change the color to light pink. Now, select Detach.
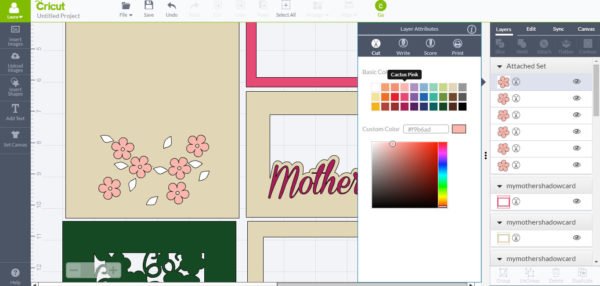
Note: Attaching the images together is the easiest way to change the color on all the flowers at once. You can also select each individual flower and change the color to whatever you would like. I detach the flowers once I am finished so that they will cut out on the cutting mat in the most efficient way possible.
Repeat this process for the small leaves.
Step 8 (optional): Add a score line to the card. Click Insert Shapes -> Score Line. Set the width of the score line to 5.49″ (the same width as the card). Choose 90° so the score line is horizontal rather than vertical.
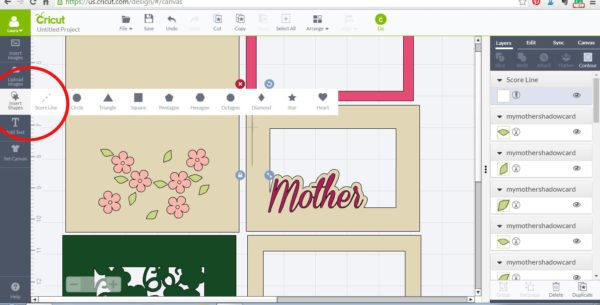
To perfectly align the score line and the card, select both. Click Align -> Center Vertically -> Center Horizontally. Select Attach, so that the card and score line are cut together.
Step 9: Click Go and follow the prompts for each cutting mat.
Card assembly
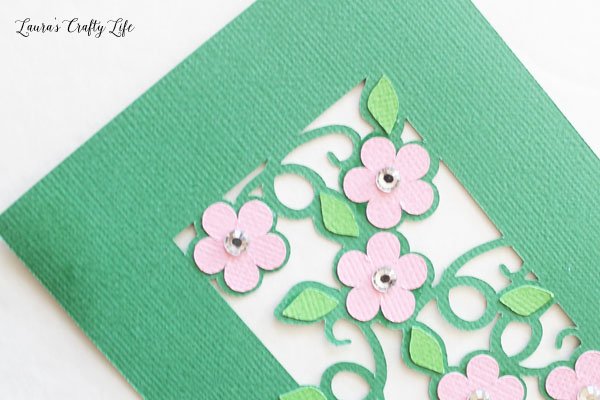
Glue the small flowers and leaves to the dark green base. Add small rhinestones to the center of the flowers.
Glue the smallest open rectangle to the larger one.

Glue the word ‘Mother’ to the card cut out.
Attach each of the layers using adhesive foam squares in the corners. Start with the folded card base. Add the green floral layer, then the Mother layer, and lastly the rectangle border, using adhesive squares on each. This will create the shadow effect on your card.

The card and tag coordinate beautifully to create a really special Mother’s Day gift set for someone special.
Need more help? Watch this video for a step by step tutorial on how to use a .svg file in Cricut Design Space:
Leave a Reply